I don't recommend you to perform this modification if you don't have much experience. Use ESD protection and a small soldering iron. Remember not to have a disc in the Wii when you start. Also, make backups of all data.
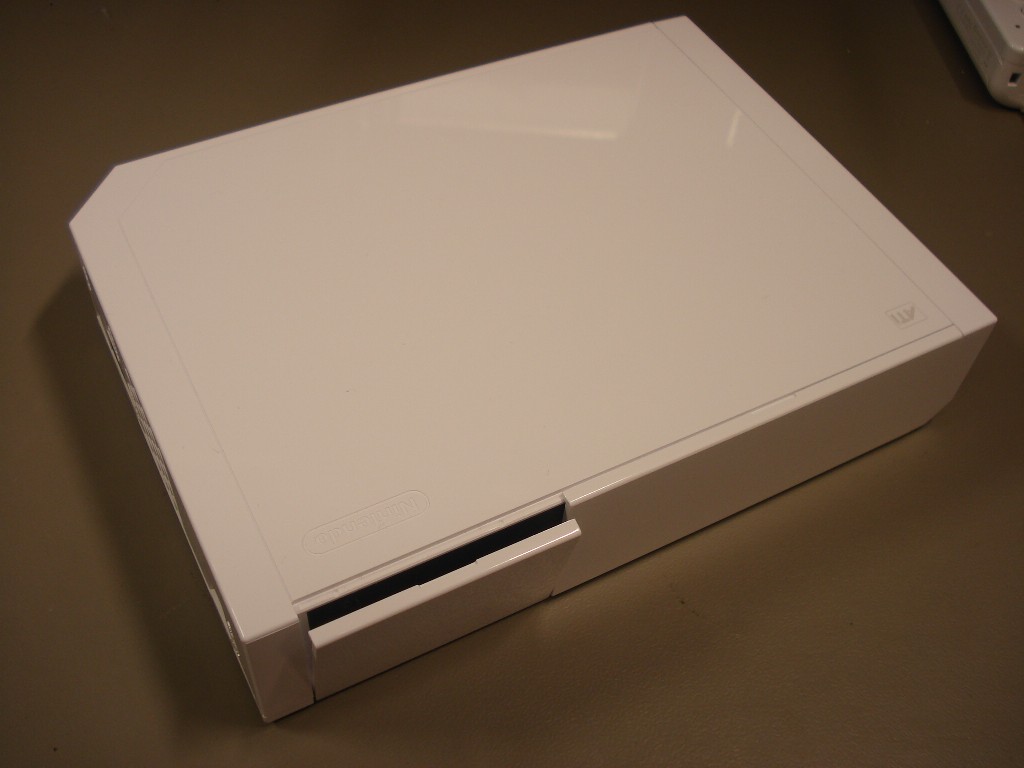
This guide will show you how I took the console apart and how I soldered the chip into the console. I don't say this is the right way, but it is A way...
Save the pictures to view them full size. Good luck, Jacob
 |
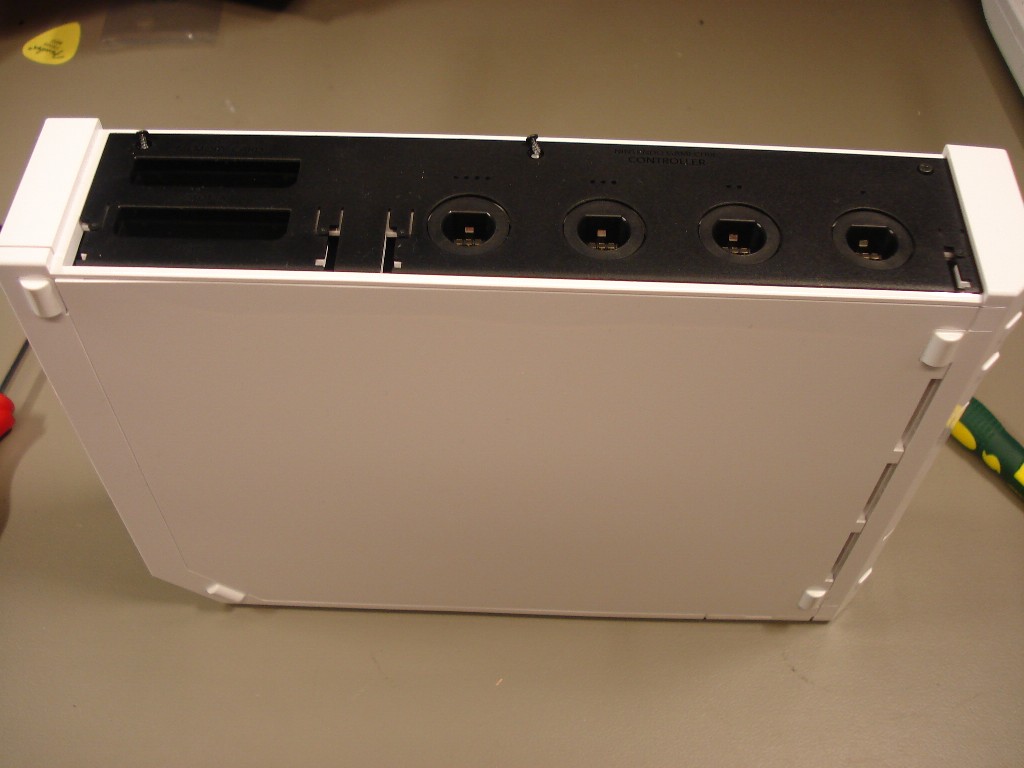
Remove the lids for the CG controllers and memorycard. |
 |
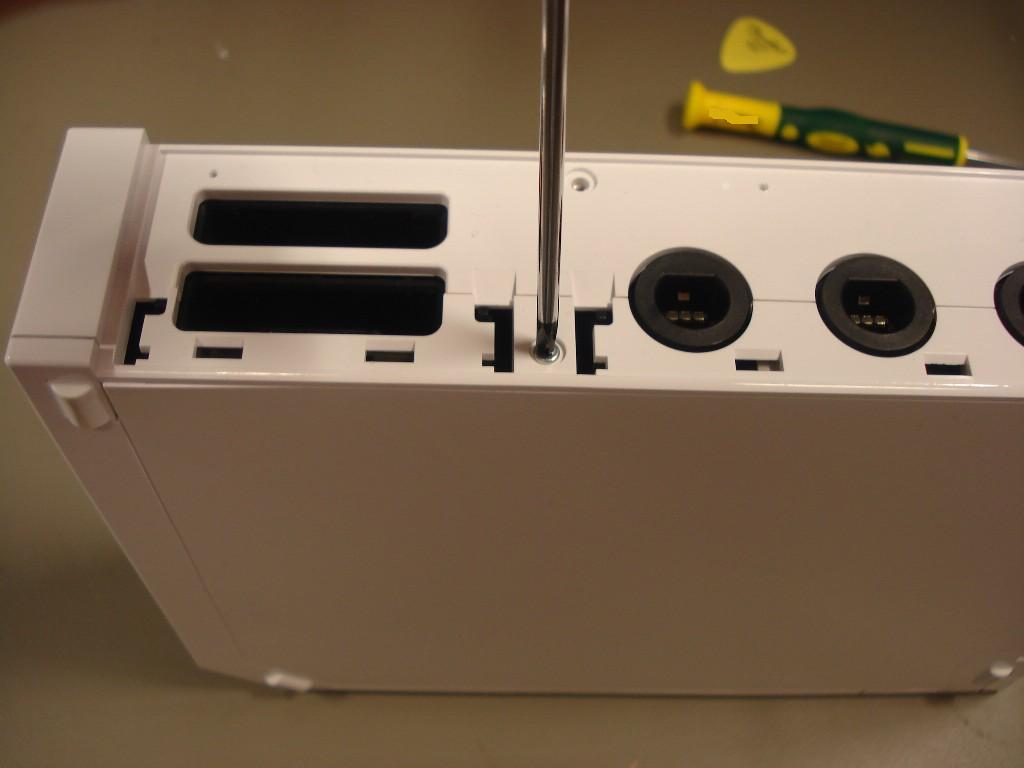
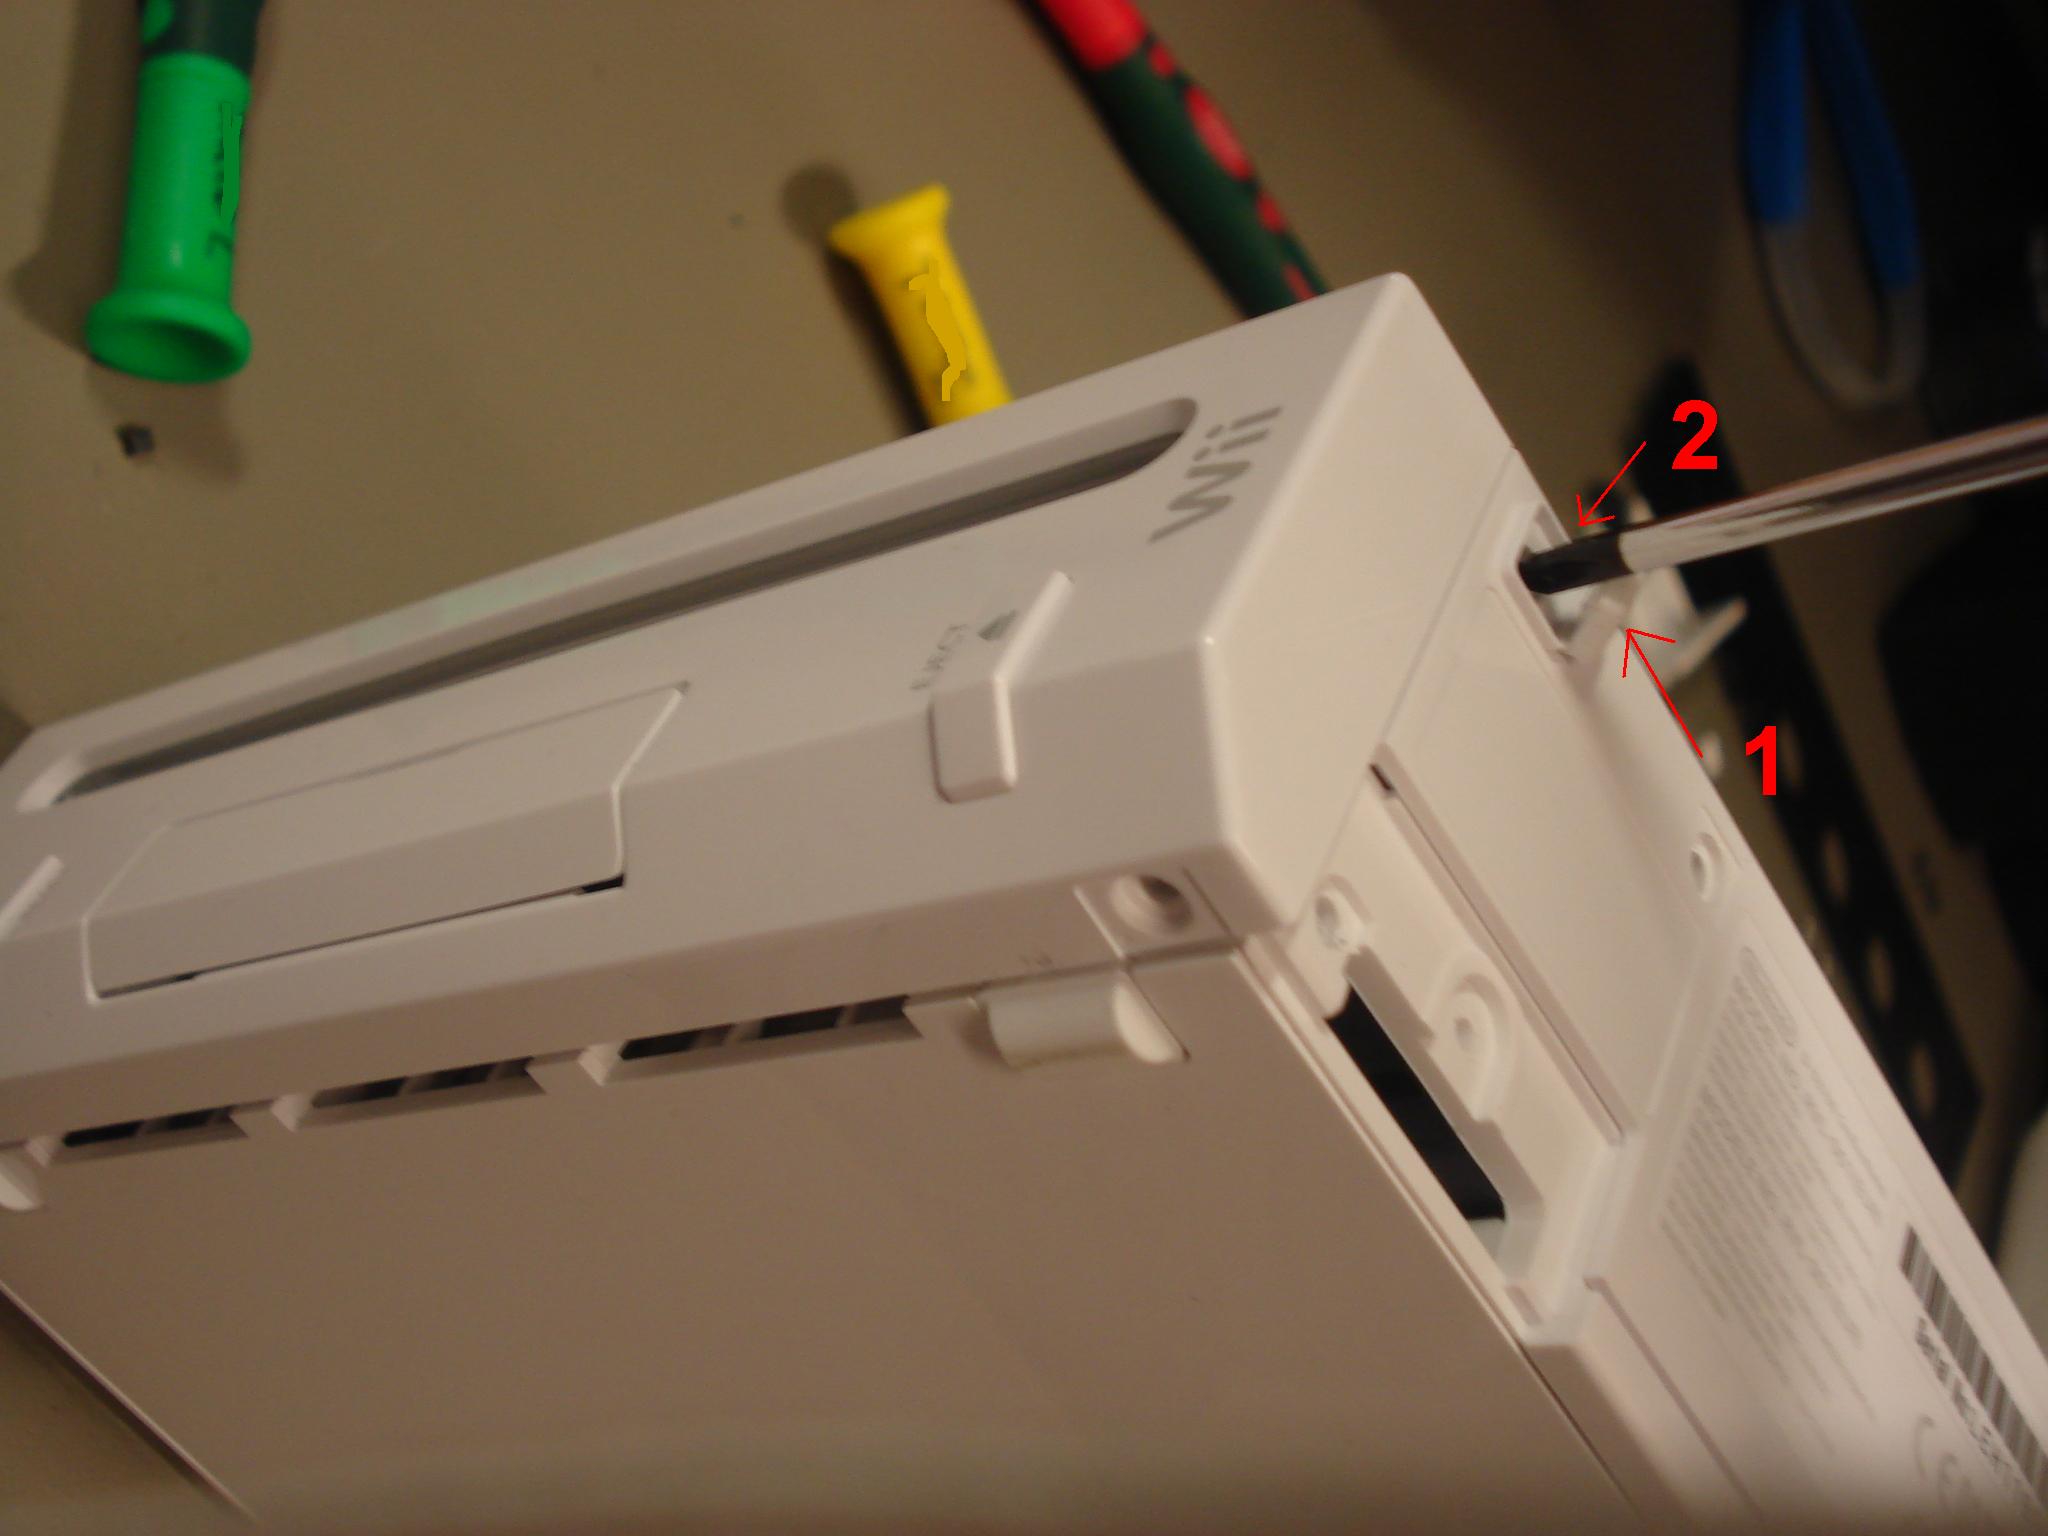
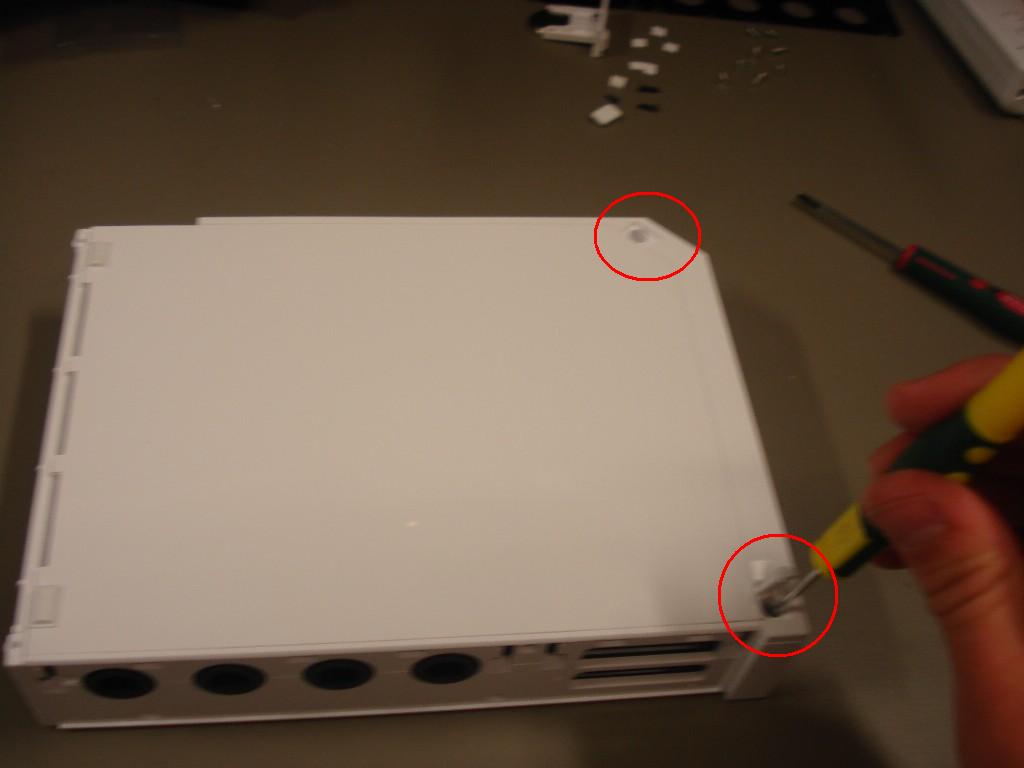
Unscrew the screws (3) on the top part. |
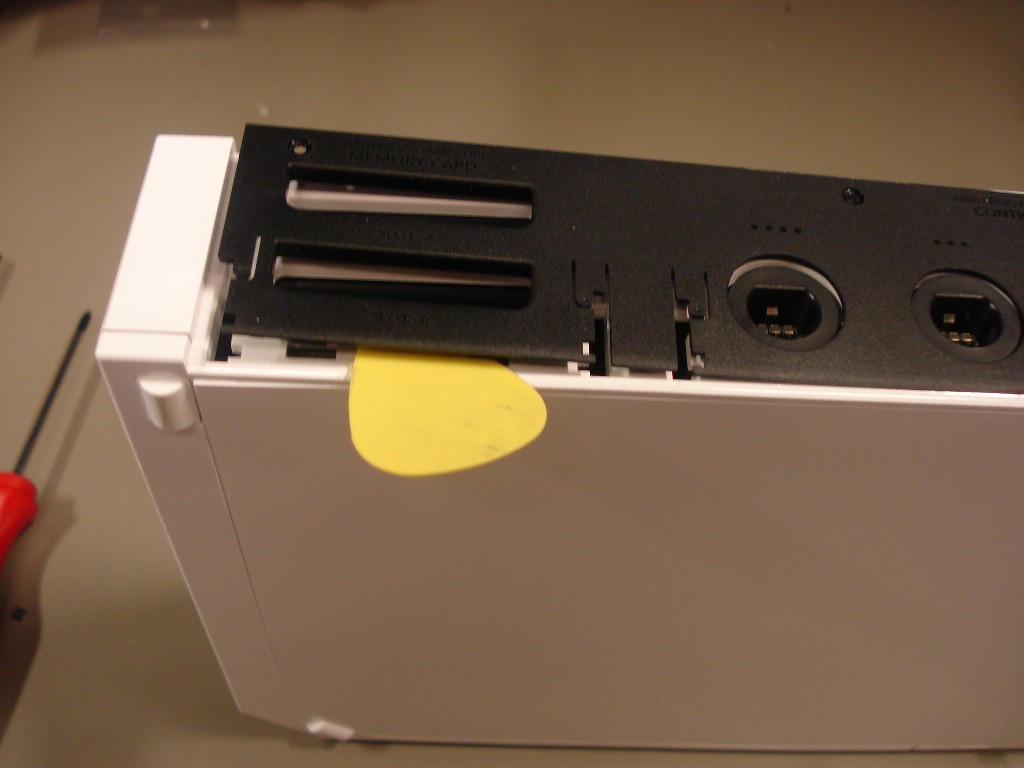 |
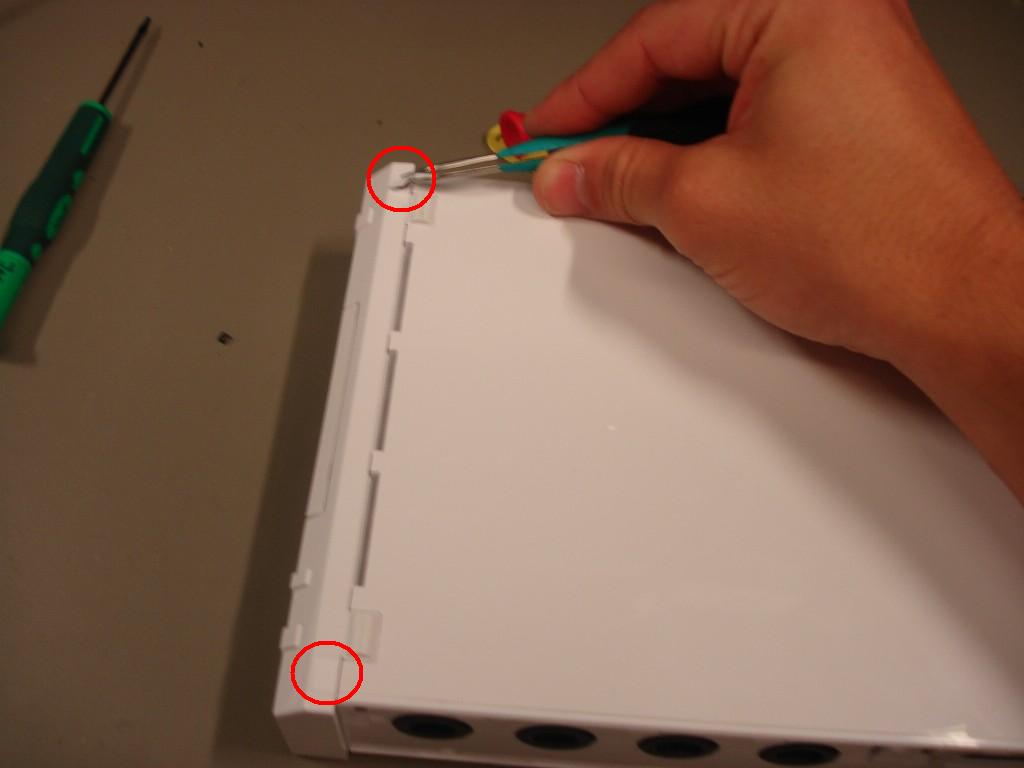
Remove the plastic cover. I used a guitar tab and started where marked on the picture. |
 |
Remove all the screws underneath. |
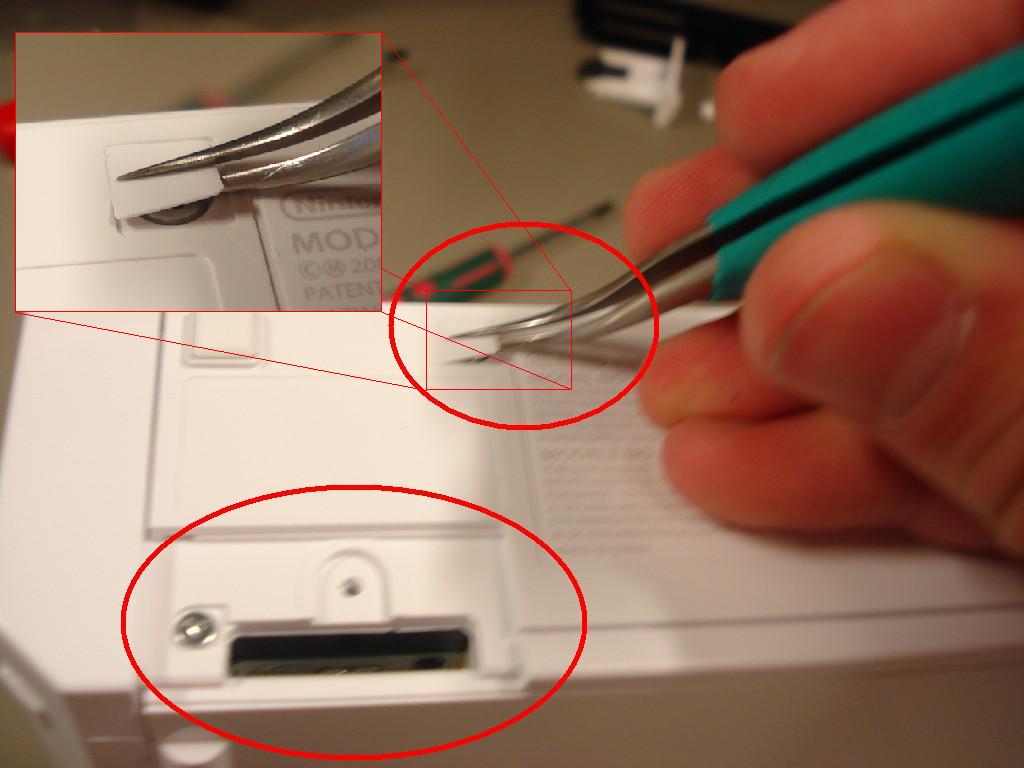 |
Remove the battery screw and lid, peel off the protective pieces and remove the screws. |
 |
Remove plastic and screws. |
 |
Remove plastic and screws. |
 |
Remove the front cover. Make sure you are careful when detatching the cable for the disc illumination on the front. |
 |
Remove plastic and screws. |
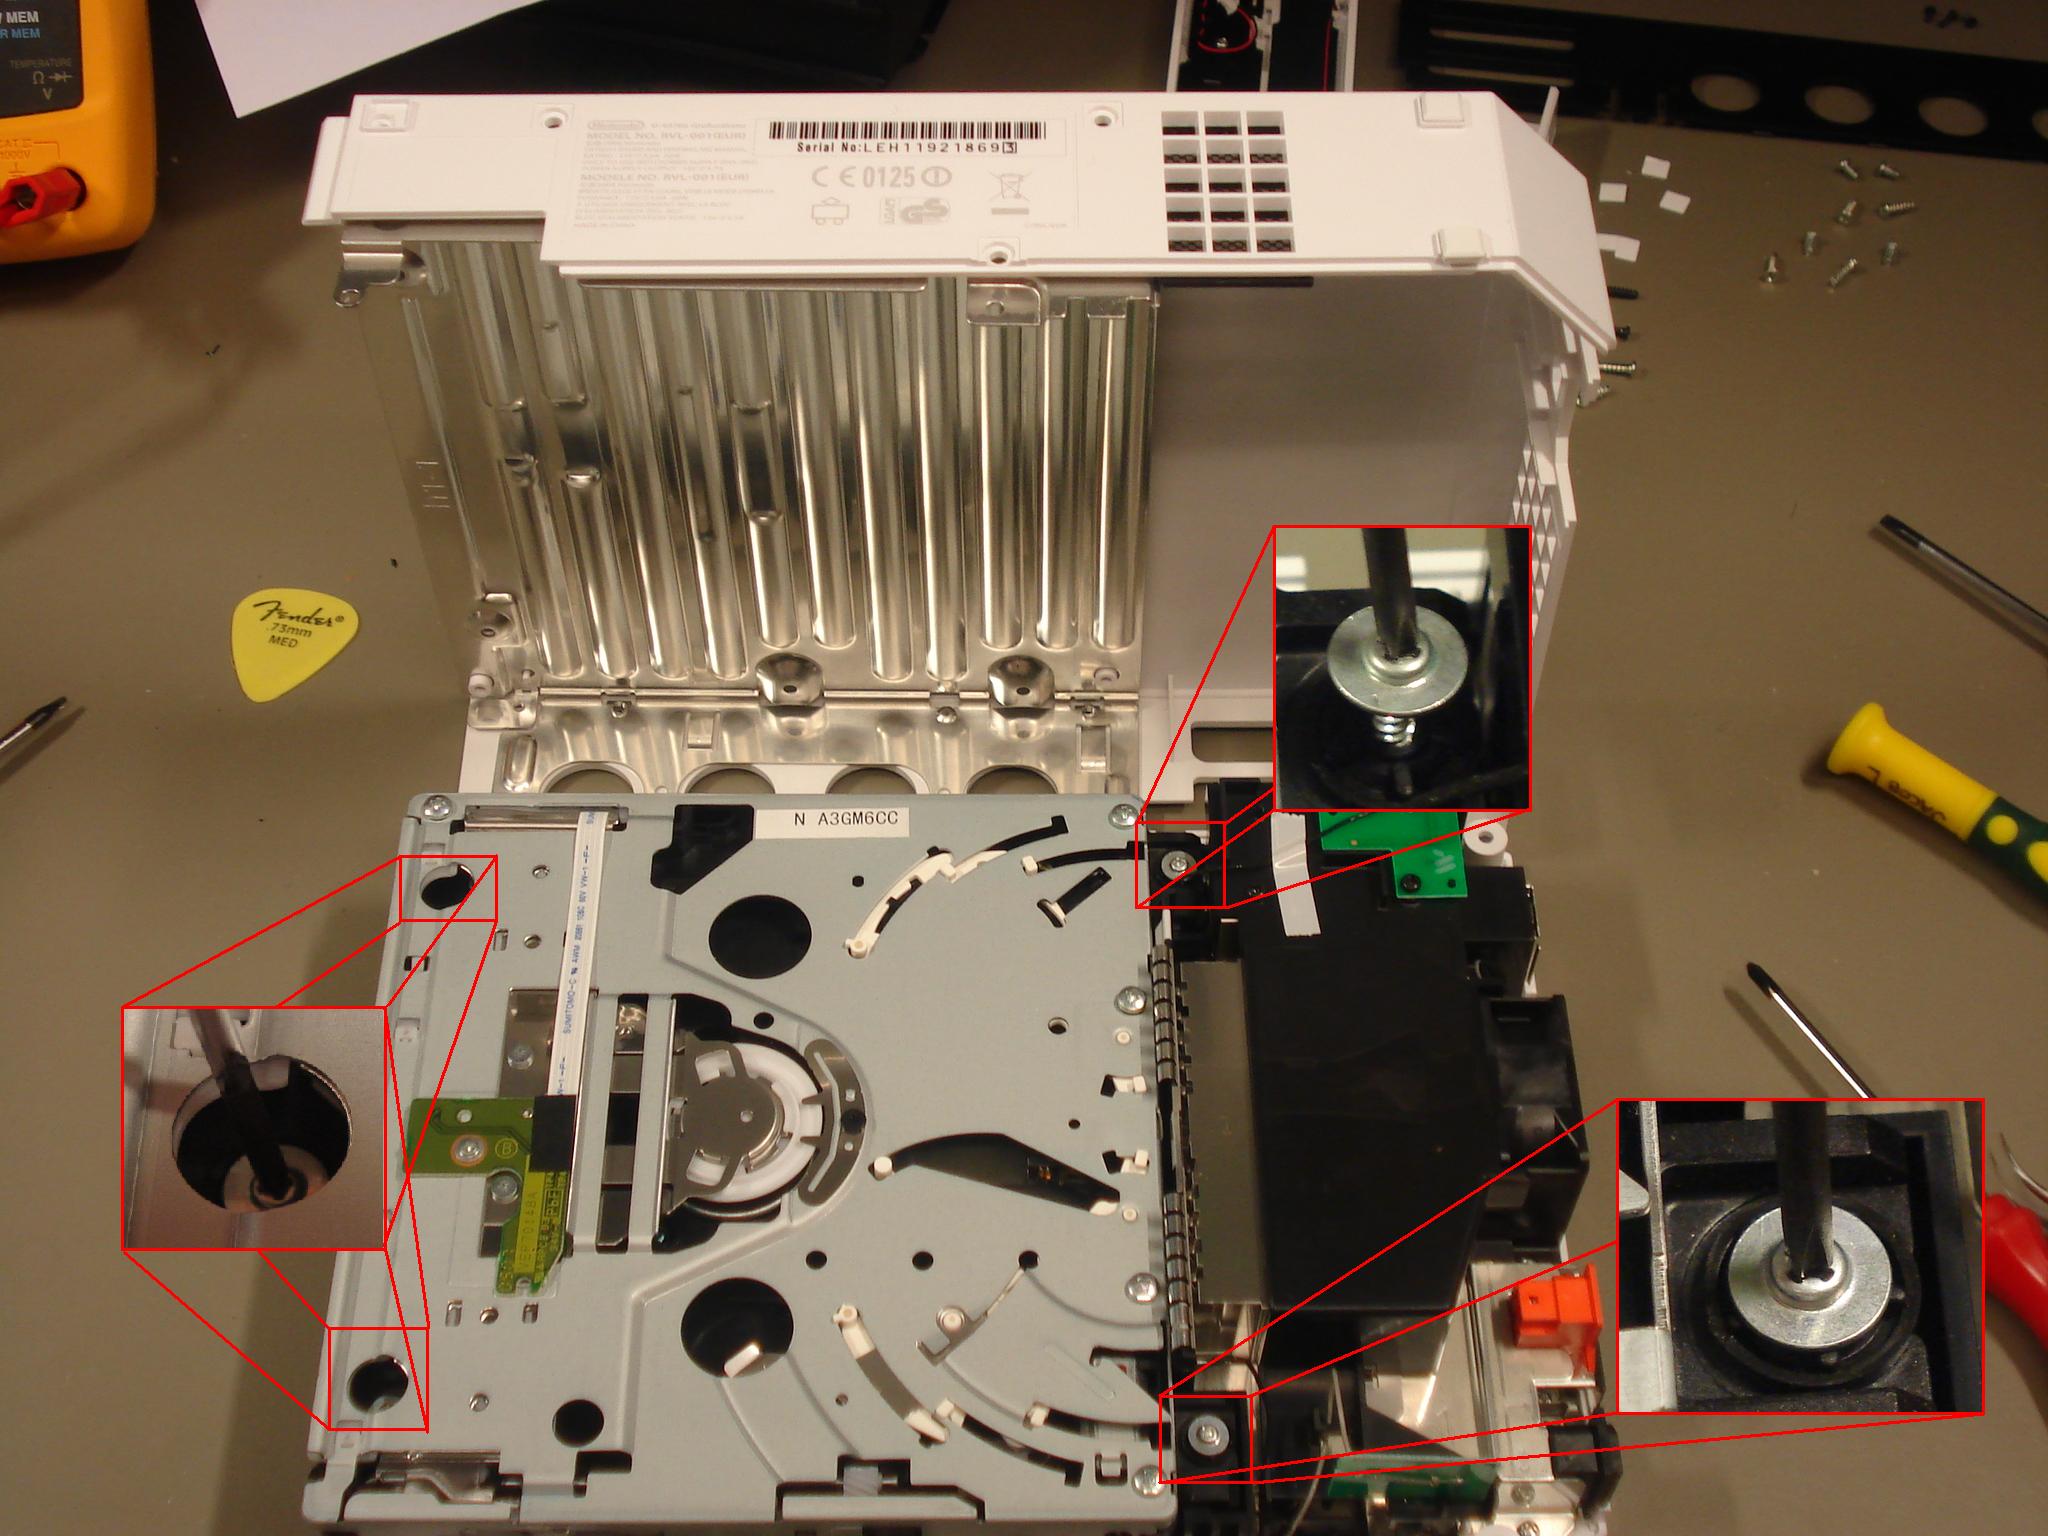 |
Open the box carefully, find the 4 screws for the DVD drive and remove these. |
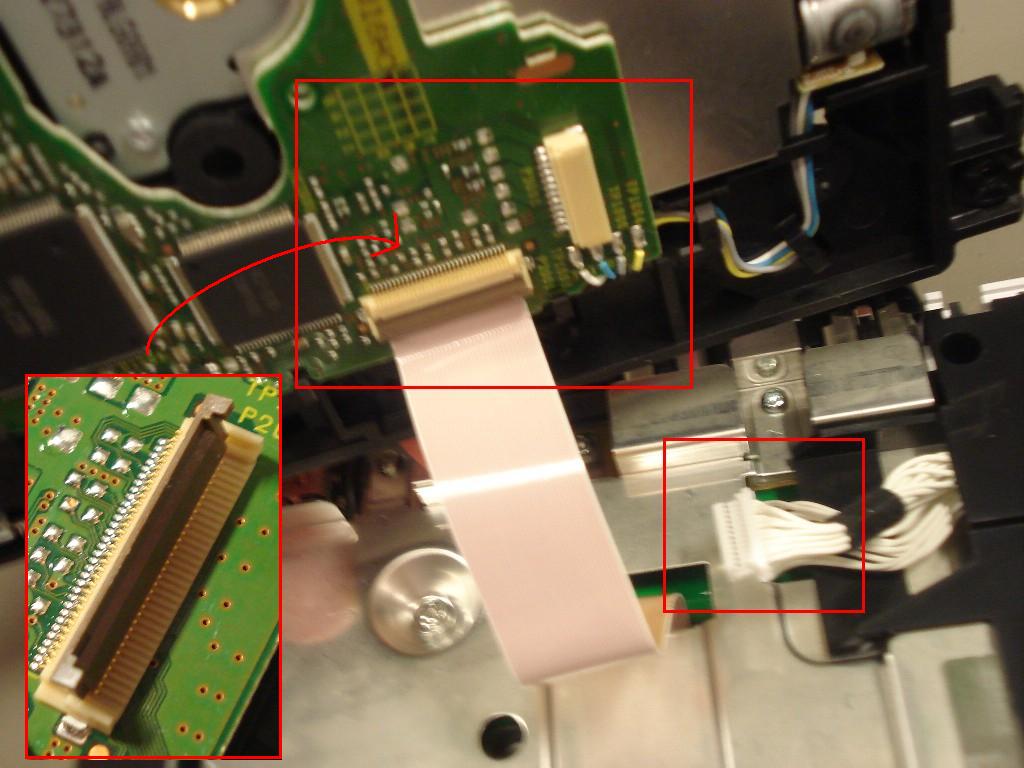 |
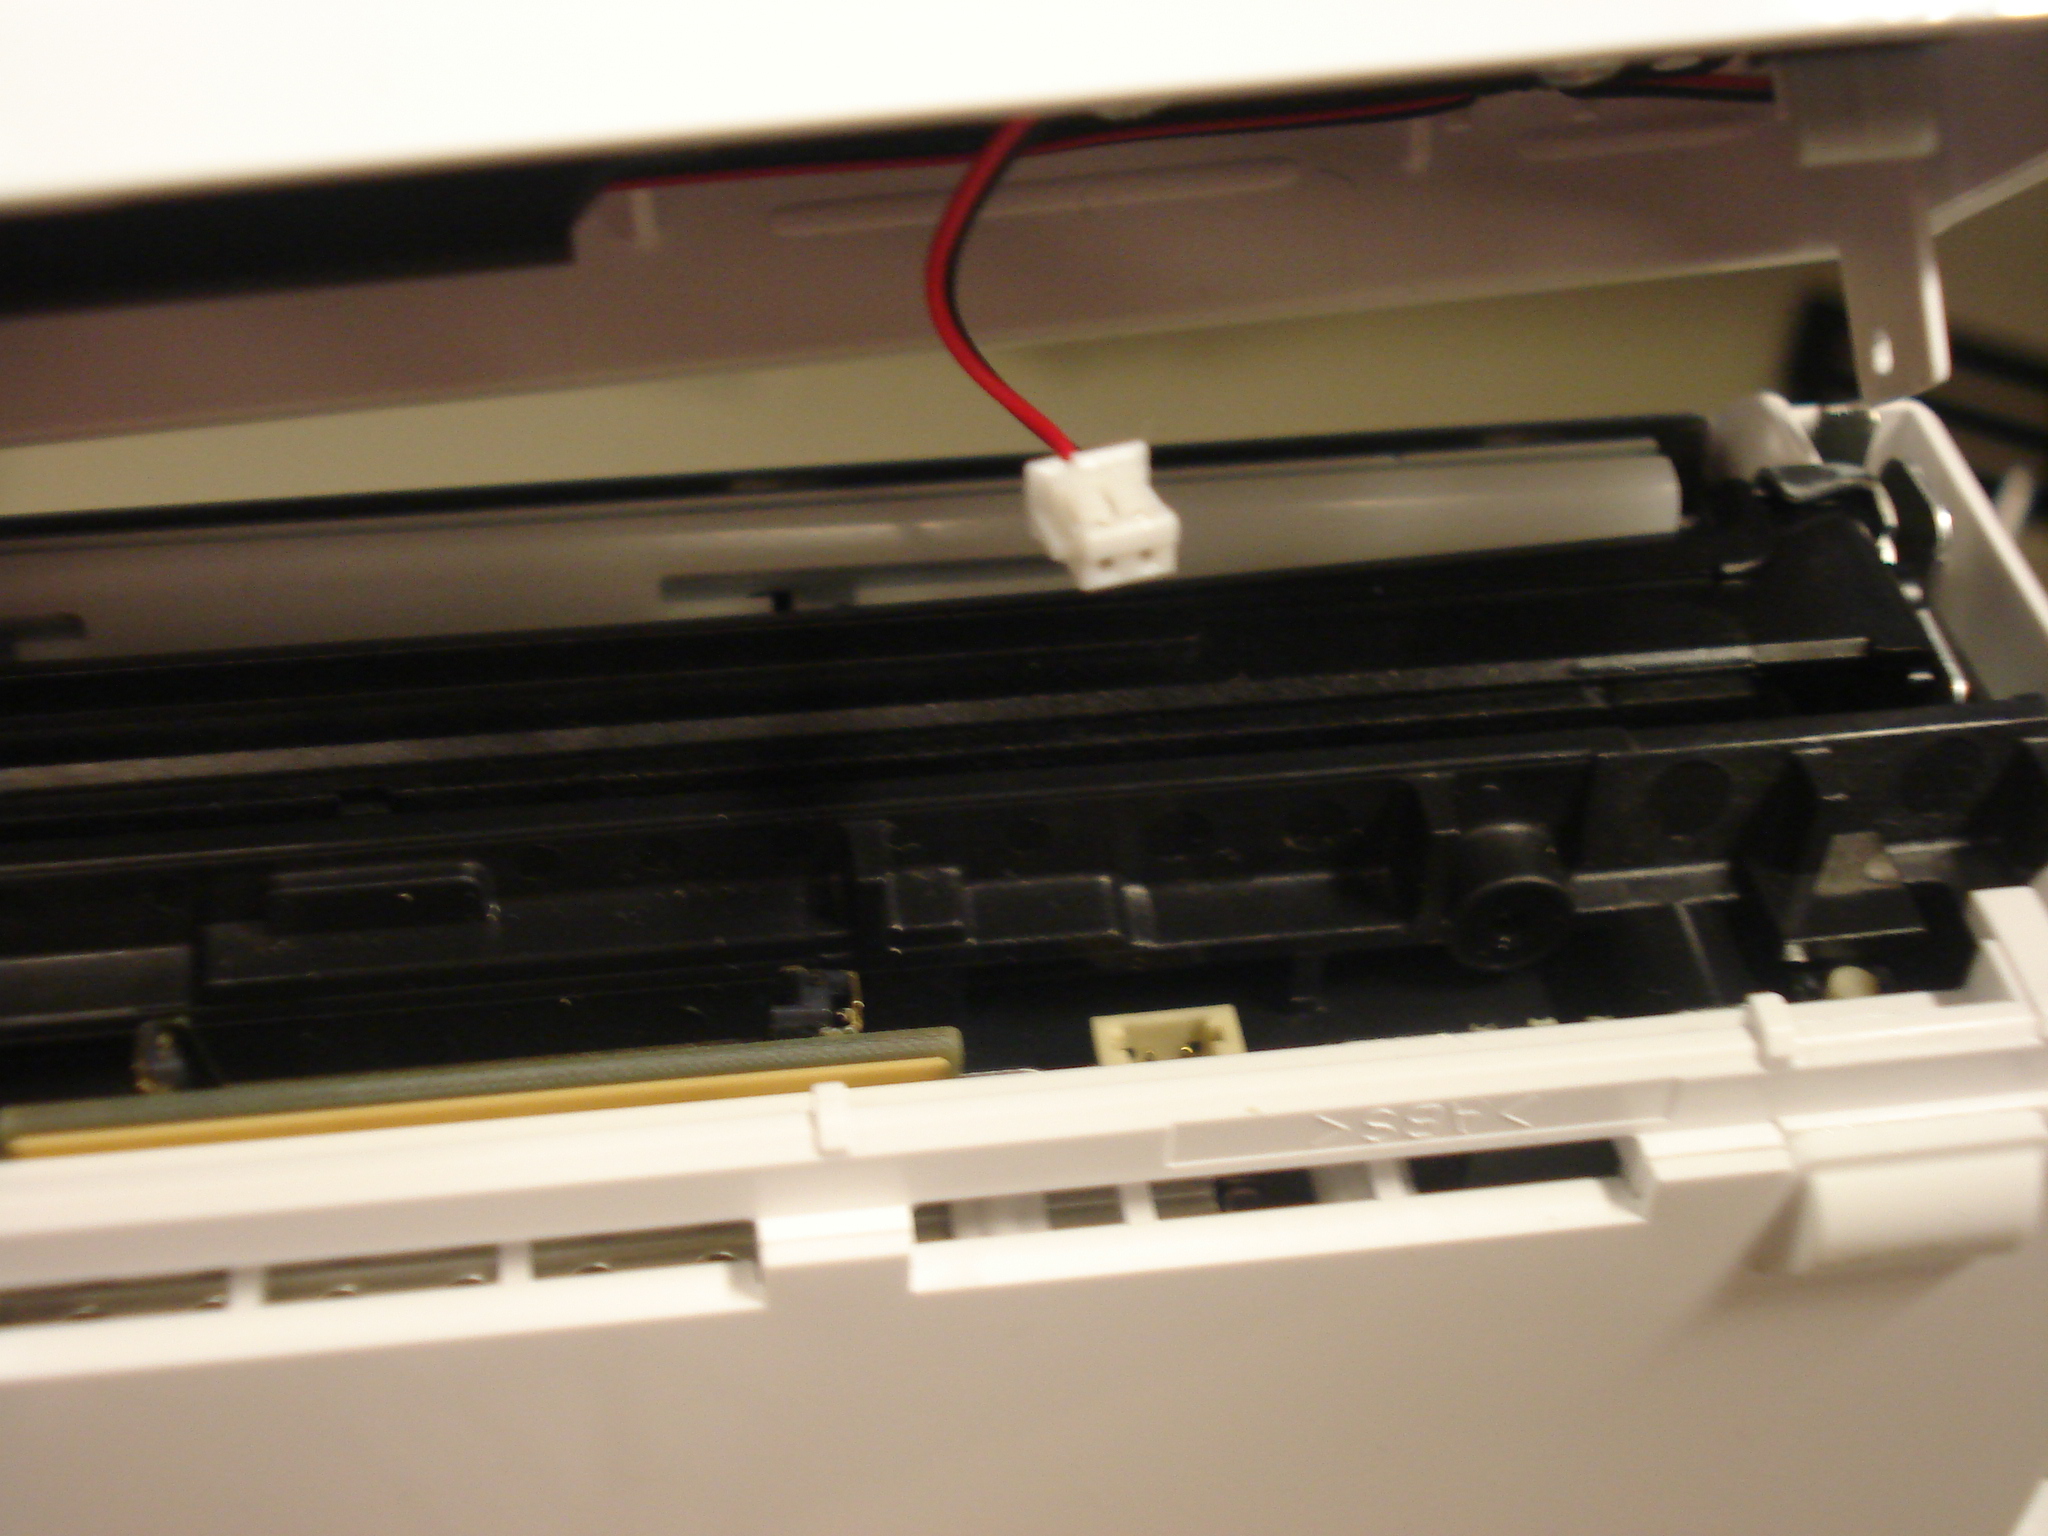
Make sure you are careful when detaching the cables. There are two cables and one should be removed by opening the connector as shown in the picture. |
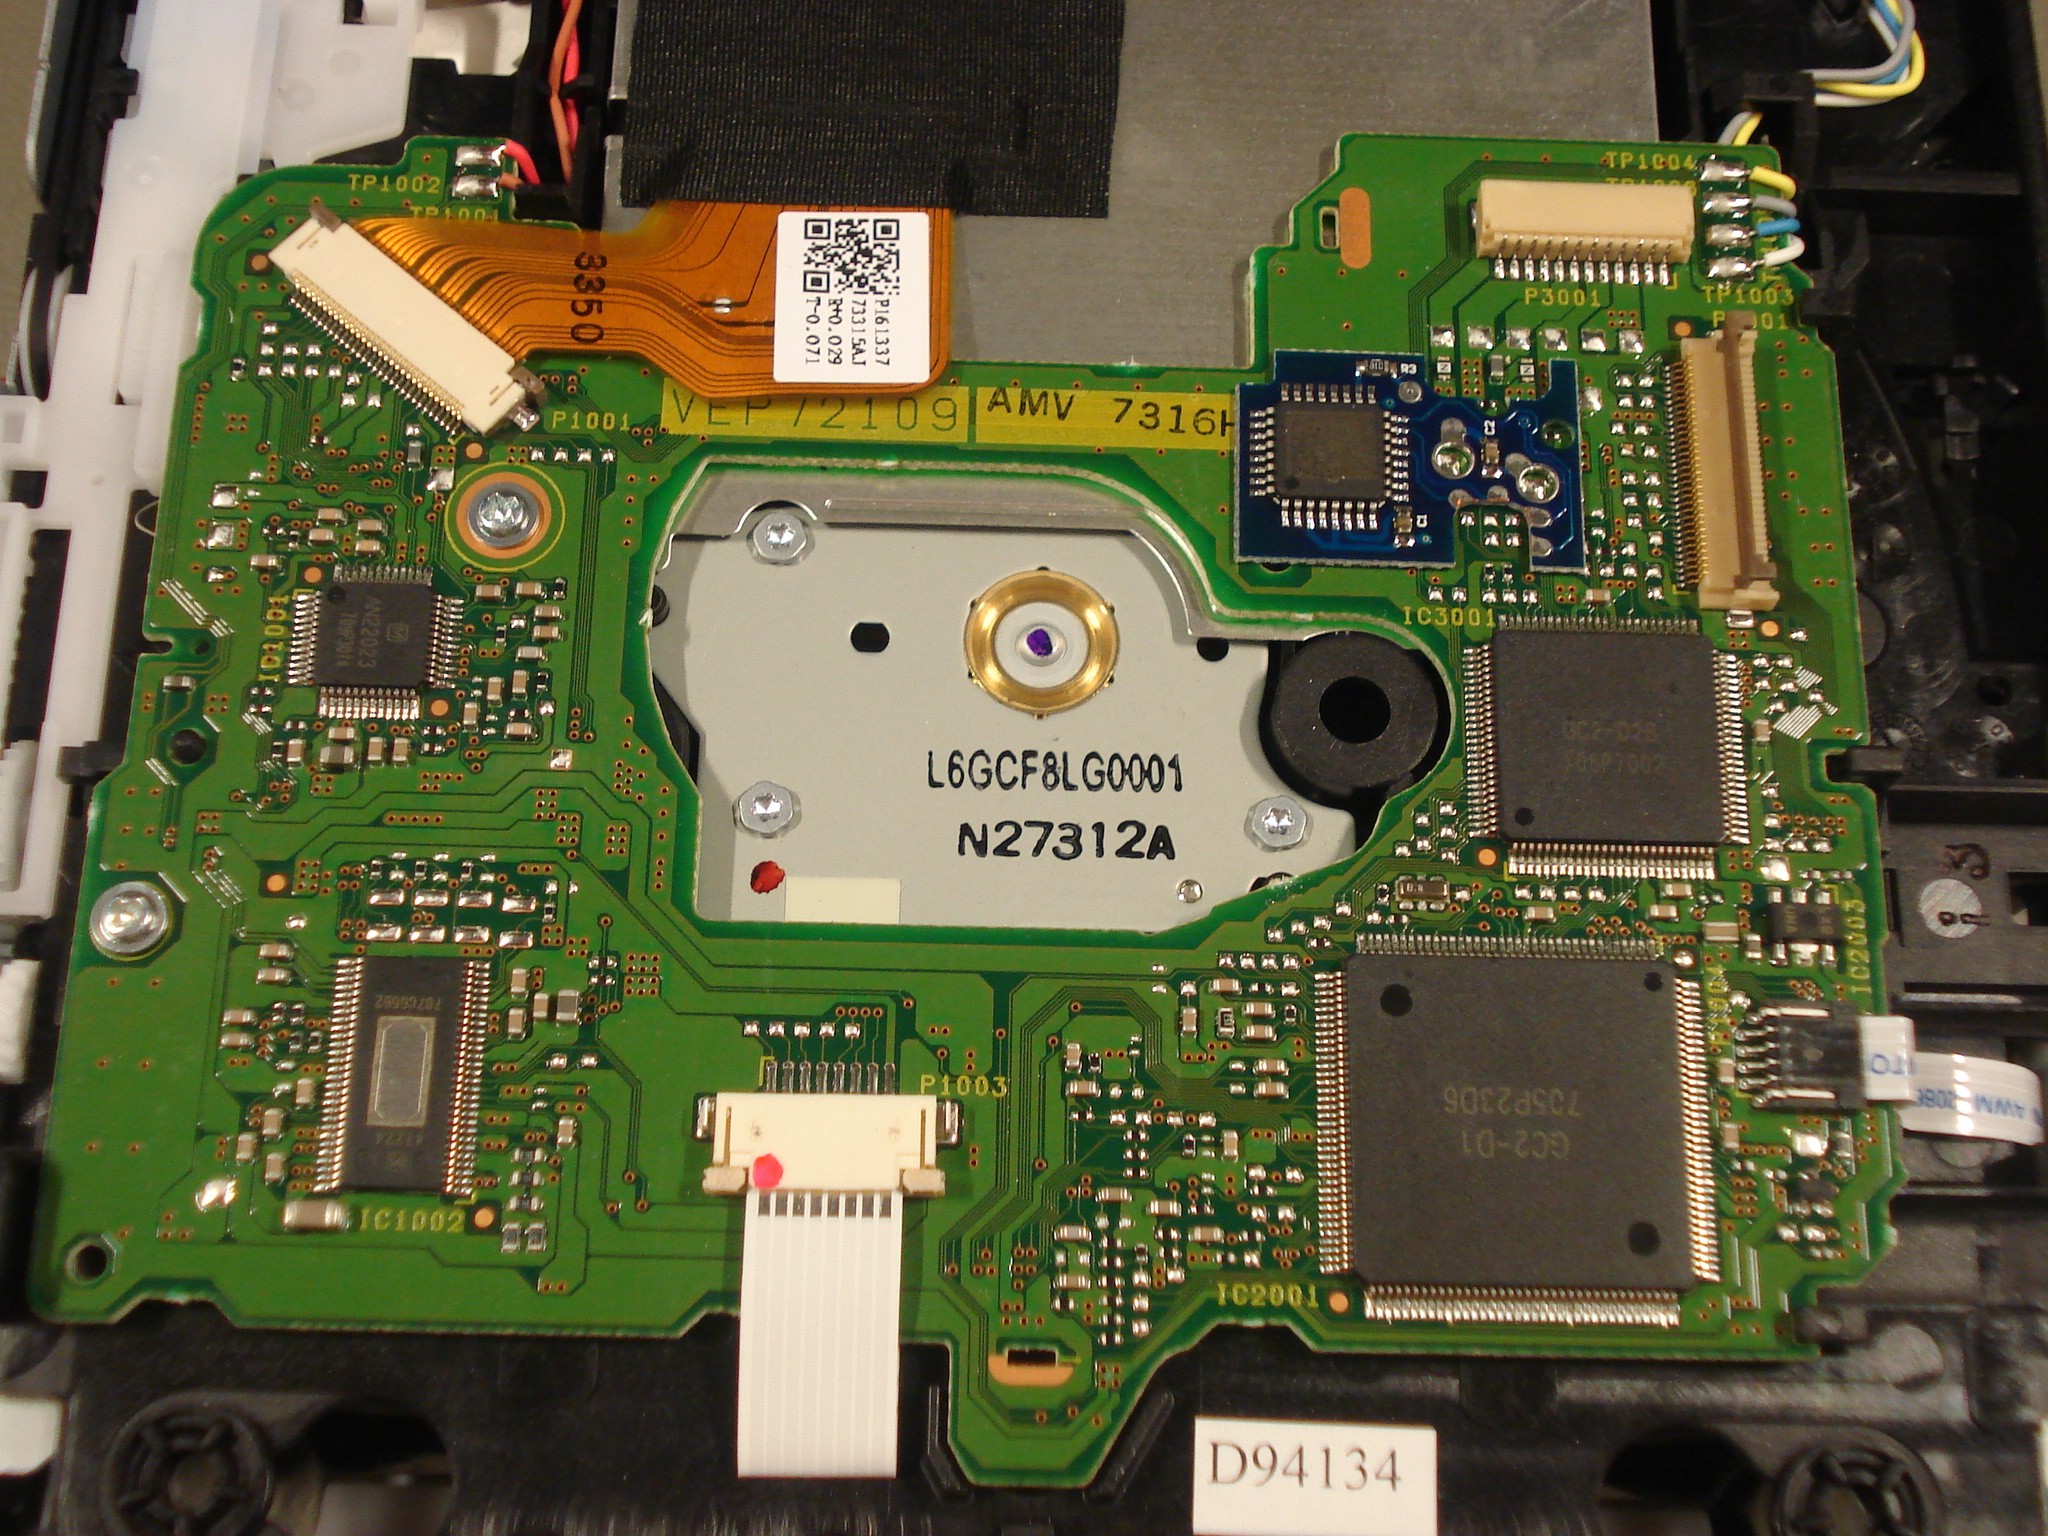 |
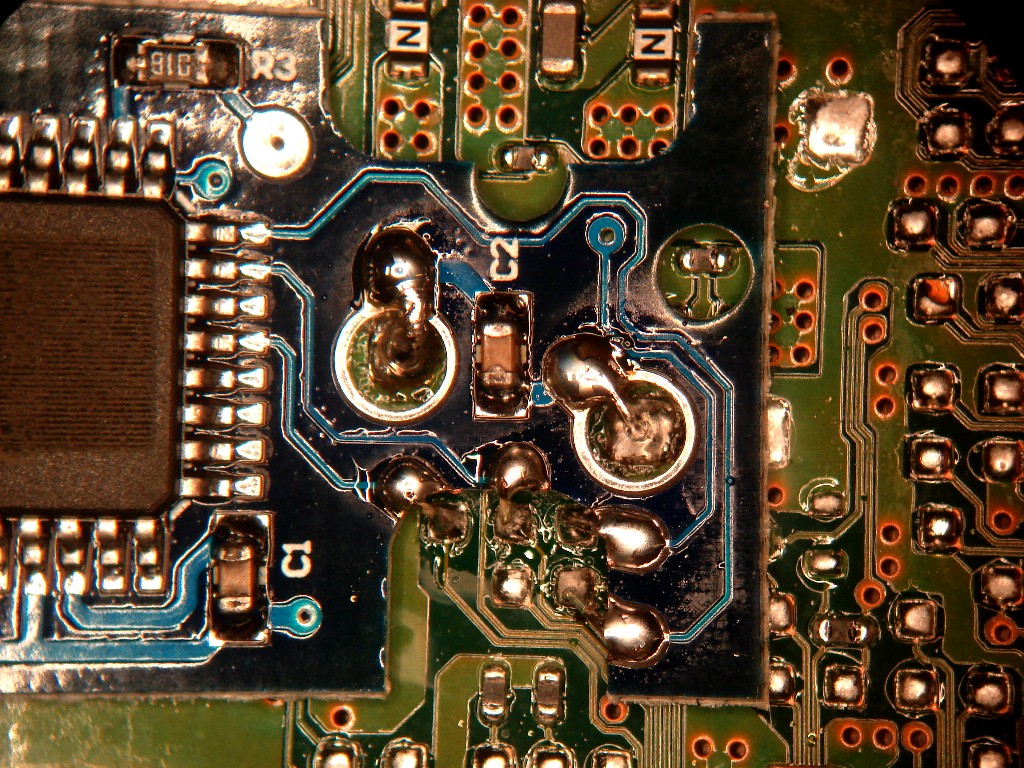
Find the right place on the PCB (High res picture). |
 |
I started by soldering small short wires, about the double in length as the thickness of the modchip-PCB. Make sure you solder weets the pads properly. |
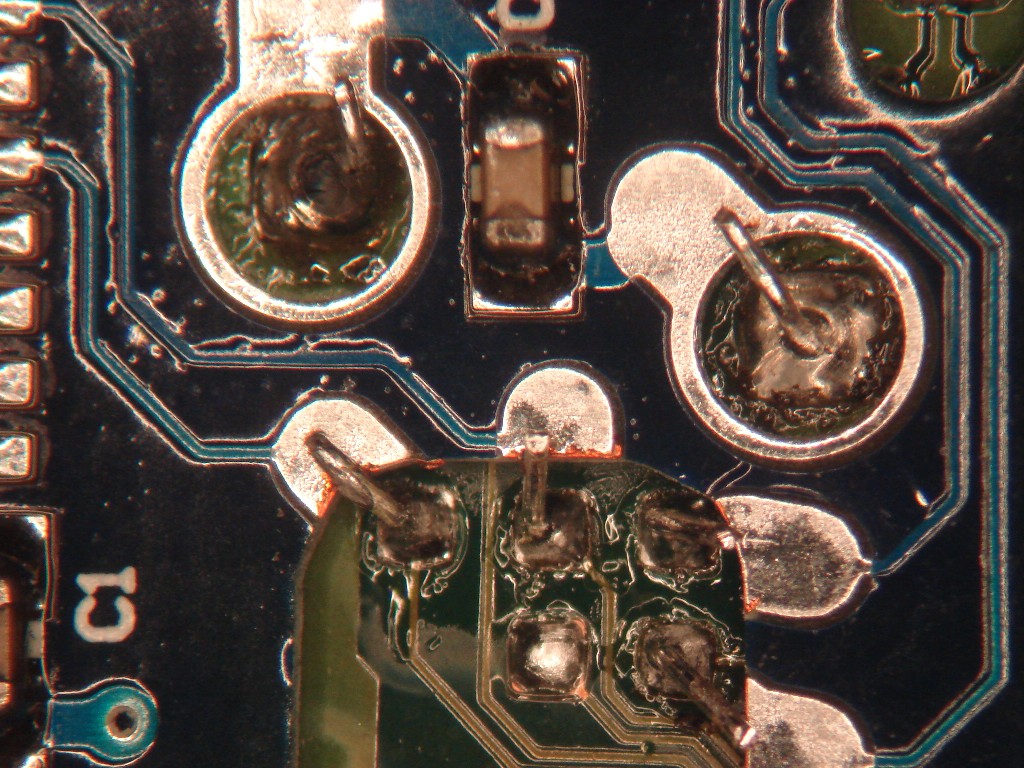 |
Then by folding the wires towards the pads, I got good alignment. |
 |
The result. The pictures are taken under a microscope and professional equipment was used. |
Webmaster:
Jacob (remove the _)
Visitor: 5077 Since June 22nd 2007
Please leave a message on
the main page
if you find this information useful/fun or if you want more info, want to use the pictures etc.
Here is a Zip file with all the images used on this page